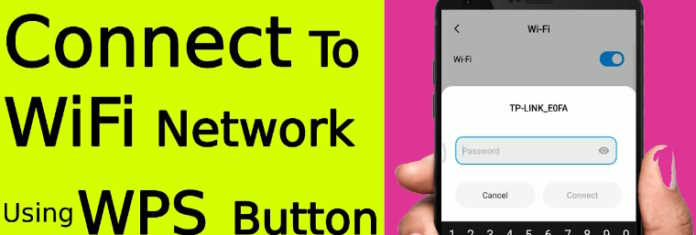
In our modern world, a secure and reliable WiFi network is essential. However, setting up and connecting to WiFi networks can often be frustrating, especially when dealing with complex passwords. But worry not! WiFi Protected Setup (WPS) is here to make the process a breeze. With WPS, you can bid farewell to the hassle of typing lengthy and intricate passwords, allowing for a more convenient and user-friendly experience.
With our step-by-step guide, we’ll walk you through the WPS setup process, ensuring you have a smooth and stress-free experience. So, Fasten your seatbelts and prepare to embark on this WiFi adventure. Let WPS be your trusted companion, guiding you toward a world of hassle-free connectivity. Get ready to enjoy a seamless and secure WiFi experience courtesy of WiFi Protected Setup (WPS).
Step 1: Compatibility and Preparation:
Before embarking on your WiFi adventure, ensuring that your router supports WPS functionality is important. Most modern routers do, but it’s always wise to double-check. Check the user manual or visit the manufacturer’s website for confirmation. Additionally, verify that your devices, such as laptops or smartphones, are compatible with WPS. This compatibility ensures a smooth and seamless connection process, allowing you to utilize WPS’s benefits fully. Once you have confirmed compatibility, you can move on to the next step.
Step 2: Activating WPS on Your Router:
Locate the WPS button on your router. This button is typically labeled “WPS” or marked with two arrows forming a circle. The button’s location may vary depending on your router model, but it is commonly found on the back or side.
To enable WPS, access your router’s settings by entering its IP address in a web browser. Once in the settings, please navigate to the WPS option and activate it. This prepares your router for the exciting pairing process, ensuring a secure and hassle-free connection with your devices.
Top 5 useful WiFi Analyzer Apps for iOS in 2023 to enhance your internet experience.
Step 3: Initiating WPS Pairing:
Get ready to experience the magic of WPS! Press and hold the WPS button on your router for a few seconds, and observe the flashing WPS light. This light signifies that your router is ready and eager to establish a secure connection with your devices. The exact duration to hold the button may vary, so refer to your router’s user manual for precise instructions.
Step 4: Connecting Your Devices:
Now it’s time to bring your devices into the WiFi world with ease.
Grab your smartphone, tablet, or laptop and navigate the WiFi settings menu.
Look for the WPS connection option; the name may vary depending on your device’s operating system. On Android, you might find it under “WiFi settings” > “WPS Push Button,” while on Windows, it may be accessed by clicking the WiFi icon in the system tray.
Once you’ve located the WPS option, activate the WPS pairing process on your device.
Next, head back to your router and watch the magic unfold. Within seconds, your device will automatically detect the router’s WPS signal and establish a secure connection.
There’s no need to manually enter lengthy passwords or go through complicated network configurations. WPS simplifies the process, providing seamless connectivity and hassle-free device pairing.
Step 5: Celebrate Your WiFi Success!
Congratulations!
You’ve successfully unlocked the power of WPS and embarked on a WiFi adventure.
By utilizing WPS, you have simplified connecting your devices to
your WiFi network, ensuring a convenient and secure experience.
Celebrate your achievement as you enjoy uninterrupted connectivity, hassle-free pairing, and peace of mind with a secure home WiFi network.
I hope we helped you bid farewell to the complexities of typing complex passwords and embrace a simpler approach. Enjoy the convenience of seamless connectivity and make the most of your WiFi experience at home.


