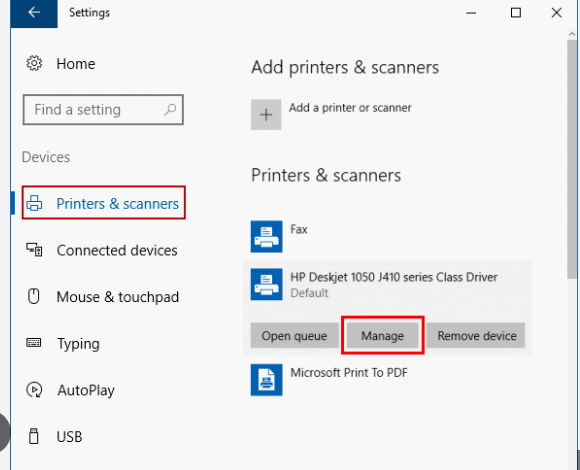
If your printer does not have a static IP address, you can find it by accessing the router or DHCP server. DHCP is a server that automatically assigns IP addresses to devices connected to a network. In a small home network, this may be a printer or other connected device. To find out what IP address your printer has, follow the steps given over here. After finding the IP address, you can use it to connect to it and print.
How to find a printer’s IP address
An easy way to find your printer’s IP address is to open the Command Prompt and type netstat -r. The output will list any devices connected to your computer that use TCP/IP. You can click on the printer you’re interested in to view its IP address. The IP address is often found under the ‘Active Routes’ section.
You can try looking through your network’s configuration manager if you don’t know your printer’s IP address.
Your printer may not have an IP address, so check the network settings. The IP address is often displayed as a symbol on the printer setup page with the manufacturer’s logo.
You can find the IP address by opening System Preferences from the Dock. Click on the Apple logo and select “Network” from the menu. You can also locate the IP address in System Preferences on your Mac by typing “printer” and selecting “network.”
Manually configure a network
You may want to manually configure a printer IP address if you cannot figure out how to do this automatically. First, you should check the documentation included with your printer to see how to set up the network interface. If your printer doesn’t come with a manual, try opening it up and following the instructions.
Then, you can enter the IP address of your printer into the network settings menu. You should see a list of network devices and their IP addresses.
To manually configure your printer IP address, go to the IP settings menu on your printer’s control panel. You will find your printer’s IP address and other configuration settings. These can be found in the settings on the back of the printer.
Look for the pin-sized hole next to the Ethernet port. Insert the pin and hold it for ten seconds. After completing this, you should see the new IP address on your printer’s network. After that, power up the printer and try printing again.
DHCP
If your printer uses DHCP, you can use the router’s DHCP server to find its IP address. If not, you can use a free network scanning tool to identify the devices on your network. Smart network scanning tools will capture the MAC address of any device connected to your network, including your printer.
Then you can match this MAC address to the printer’s IP address. In some cases, you may also be able to determine the printer’s IP address.
After accessing the DHCP client list, you can enter your printer’s current IP address. To find the IP address, you can type in the printer’s MAC address (which is the physical address) or IP address (which is equivalent to the printer’s IP address). Then, use the keyboard shortcut “Ctrl+Shift-Alt+Delta” to copy the IP address to your clipboard. Once you have copied the address, you can paste it into different windows.
EtherTalk
If your printer doesn’t have an IP address displayed on its device screen, you can use the EtherTalk protocol to find it. You can also look up the printer’s IP address in its manual if it has one. Typically, the printer will have a printed IP address on its device manual. The IP address can also be found in a printer’s network setup. Depending on the network configuration of your printer, you can choose DHCP, BOOTP, EtherTalk, or manual input.
The most common design is DHCP, which automatically assigns the printer’s network settings. Manual input is another method requiring you to enter network values by hand. DHCP is the most common configuration; however, it is not the only one. Apple devices, printers, and other devices often communicate over EtherTalk and AppleTalk.
Once you have found the printer’s IP address, you need to enable or disable the EtherTalk interface on your Macintosh system. The name of the printer’s zone in the Network Control Panel can be changed. If your printer doesn’t use EtherTalk, check the printer’s manual to see what other devices on the network are connected to it. Otherwise, the EtherTalk interface may not be active by default if your Mac uses an older Macintosh system.
BOOTP
Before determining your printer’s IP address, you must connect it to your network. To do so, open the printer’s control panel and navigate the TCP/IP configuration menu. You can change the BOOTP settings and set your printer’s IP address there. Changing this setting will allow you to access your printer’s settings and configure the IP address and subnet mask. Once you’ve made the necessary changes, you’ll be able to access your printer’s IP address.
First, you must enable the DHCP protocol on your router or network-based printer. This allows your router or printer to connect to your network. If you don’t have DHCP, you need to enable BOOTP for your printer. To enable BOOTP for your printer, you should allow it on its network setup page. Alternatively, you can go to the printer’s network configuration page and type in the IP and MAC addresses.For additional information on setting up the DHCP protocol and troubleshooting related queries, you can find more resources over here, which will help you get your printer up and running smoothly.


